What Actually Happens During a Kitchen Respray?
- Apr 10
- 2 min read
Updated: Apr 11
From the outside, kitchen spraying can seem like a quick transformation. In reality, it’s a structured process — and each stage plays a role in the final result.

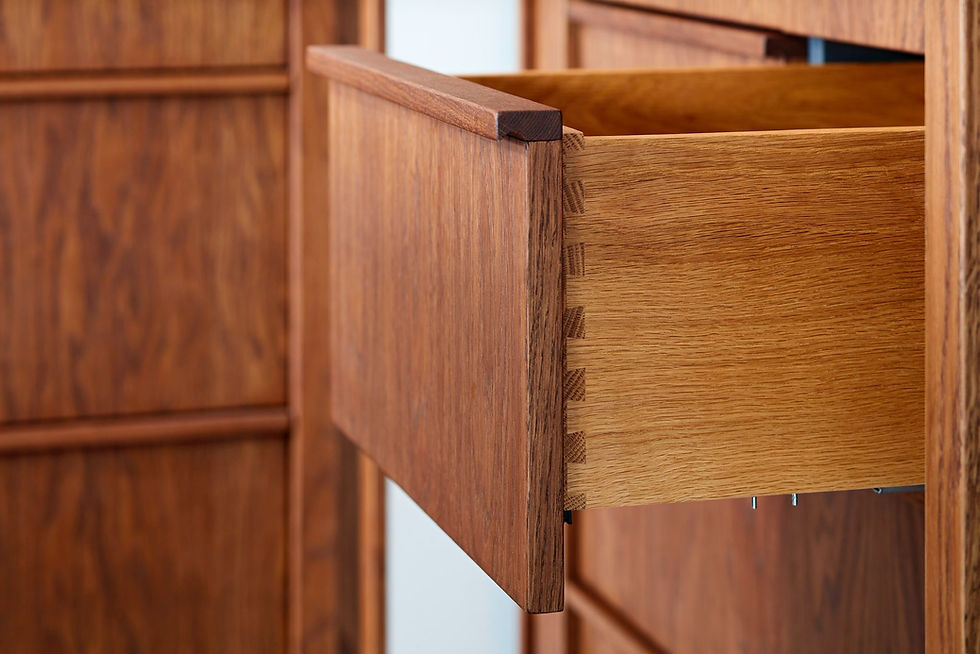
Step 1 — Removal and labelling
Doors, drawers, and removable panels are carefully removed and labelled. This ensures everything is reinstalled precisely as it was.

Step 2 — Workshop preparation
Once in the workshop, each piece is:
Thoroughly degreased
Sanded to create a stable surface
Repaired where needed
This stage is often the most time-consuming — and the most important.

Step 3 — Priming
A specialist primer is applied to ensure strong adhesion between the existing surface and the final coating. Then sanded and primed again. Any imperfections are filled and sanded.

Step 4 — Spray finishing
Components are sprayed in a controlled spray booth using professional coatings.
This allows for:
Even coverage
Clean edges and profiles
Consistency across the entire kitchen

Step 5 — Curing
After spraying, pieces are left to cure in a controlled environment. This ensures the coating hardens properly before handling.

Step 6 — On-site work
Fixed elements (such as frames and end panels) are prepared and refinished on-site with careful masking and protection.

Step 7 — Reinstallation
Once fully cured, everything is reinstalled and aligned.

The difference is in the detail
The process isn’t fast — but it’s deliberate.
The result is a finish that feels integrated with the kitchen, rather than applied to it. Read more about our workshop process

Comments